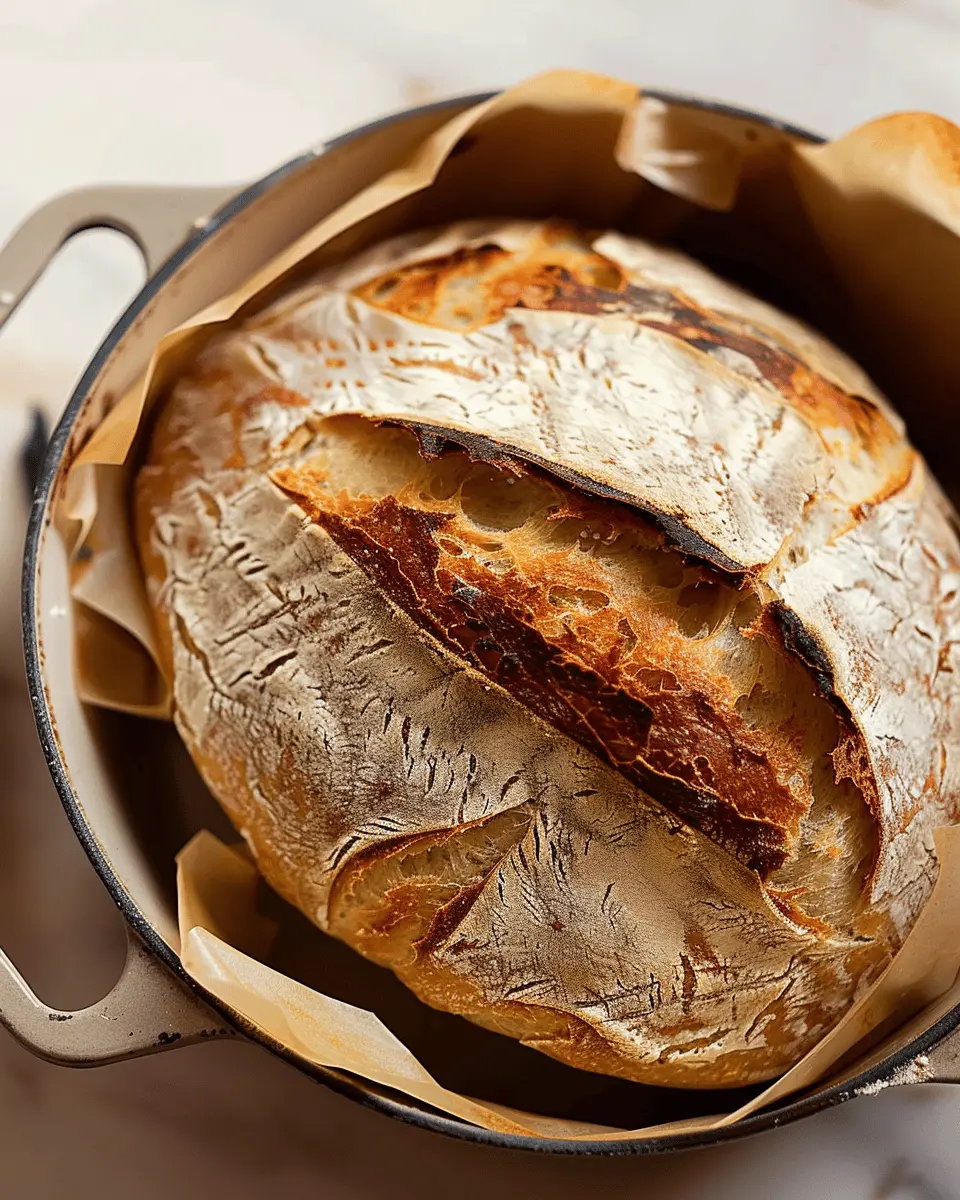
Introduction to Dutch Oven Sourdough Bread
Why Make Sourdough Bread at Home?
Have you ever walked past a bakery, inhaling the warm, comforting scent of freshly baked bread? Making sourdough bread at home can bring that tantalizing aroma right into your kitchen and elevate your culinary skills. It might seem daunting, but the beauty of sourdough is in its simplicity. By allowing time for fermentation, you create depth of flavor and texture unlike anything from a store.
Plus, consider the health benefits! Sourdough is easier to digest and has a lower glycemic index than many commercial breads, thanks in part to the natural fermentation process, as explained by experts from Food & Nutrition. And let’s not forget the satisfaction of nurturing a living culture—your sourdough starter. Isn’t it nice to think you’re crafting something from scratch, using basic ingredients like flour, water, and salt?
The Benefits of Using a Dutch Oven
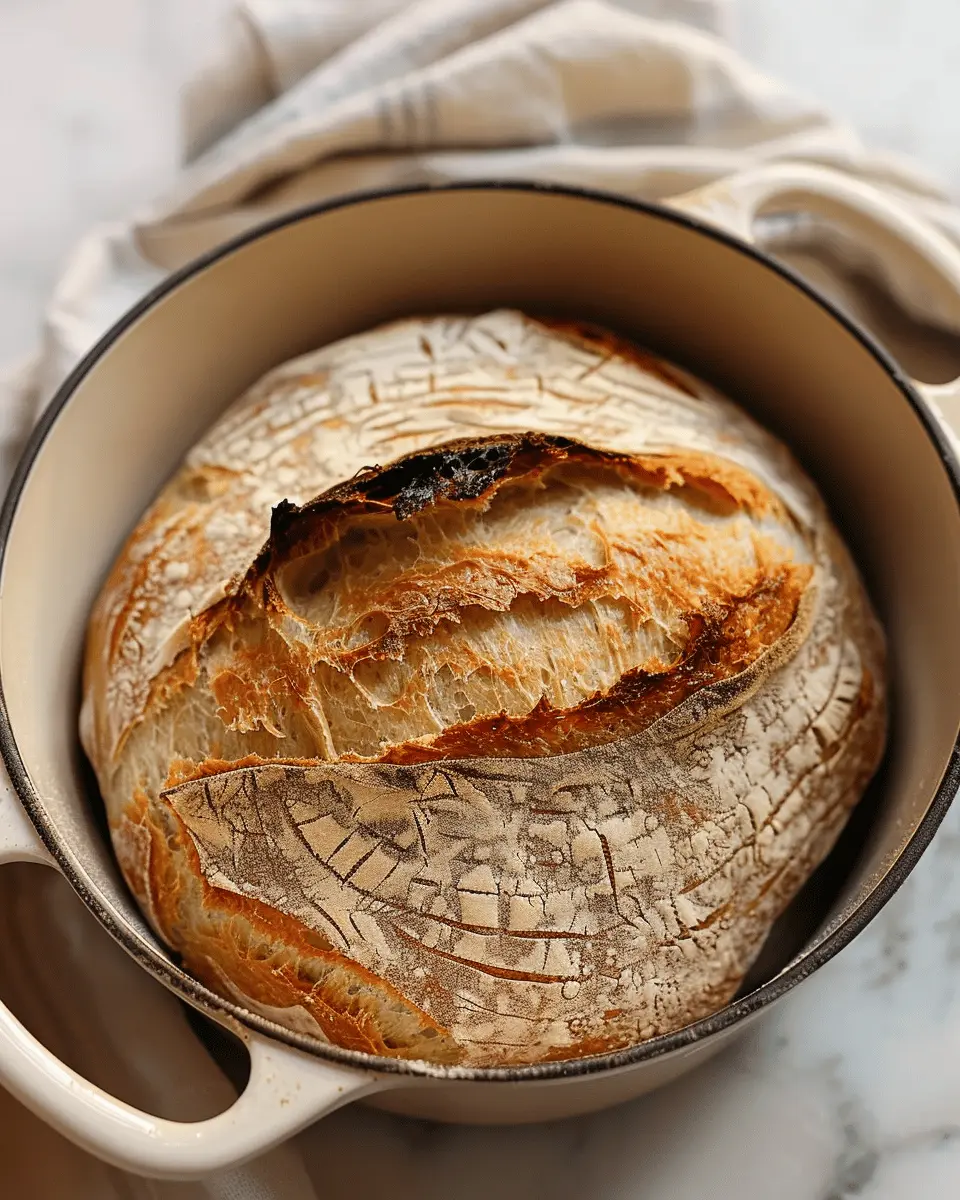
Now, let’s talk about the star of the show for this process—your trusty Dutch oven. This kitchen tool is a game changer when it comes to baking dutch oven sourdough bread. Here are some reasons why:
-
Consistent Heat Distribution: A Dutch oven mimics a professional baking environment by trapping steam. This steam is critical for developing that beautiful, crispy crust while keeping the inside tender.
-
Versatility: Not only can you bake bread, but you can also use a Dutch oven for various dishes, from stews to roasts. It’s a versatile investment that serves multiple culinary purposes.
-
Easy Cleanup: With most Dutch ovens being cast iron, they’re incredibly easy to clean and maintain, making them perfect for busy professionals who want efficiency in the kitchen.
So, whether you’re aiming to impress at a dinner party or just want a delicious side for your homemade soup, the potential of baking dutch oven sourdough bread is endless. Ready to dive in and make your own loaf? Let’s gather our ingredients and get started on this flavorful journey.
Ingredients for Dutch Oven Sourdough Bread
Essential Ingredients for Success
Baking your own Dutch oven sourdough bread at home can be incredibly rewarding, but the right ingredients play a crucial role in your success. To get started, you’ll need:
- Bread Flour: Look for higher protein content (above 12%), as this will develop gluten effectively. Brands like King Arthur Flour are known for quality.
- Sourdough Starter: A bubbly and active starter is key. If you don’t have one, consider creating your own using simple ingredients or buy a reliable starter from a reputable source.
- Water: Aim for filtered water, as chlorine can hinder yeast growth. The ideal temperature is around 80°F (27°C).
- Salt: Use non-iodized salt, like sea salt or kosher salt, to enhance flavor without affecting the fermentation process.
Quality Matters: Choosing the Right Flour and Starter
When it comes to flour, opting for organic or unbleached varieties often yields better results. You might also want to explore alternatives like whole wheat for added depth of flavor. For your starter, a well-fed, bubbly starter will provide the right leavening power. If you’re unsure how to maintain one, check out this guide on maintaining your sourdough starter.
Using quality ingredients not only enhances flavor but also influences the overall texture of your Dutch oven sourdough bread. Each component contributes to creating that perfect crust and chewy interior that makes homemade bread so special. Happy baking!
Step-by-Step Preparation of Dutch Oven Sourdough Bread
Baking sourdough bread isn’t just about making a loaf—it’s about creating an experience, a ritual if you will. Let’s dive into how to prepare your delightful Dutch oven sourdough bread from scratch, enabling you to impress even the toughest of critics (yes, family members).
Combine the Ingredients
First things first! Gather your ingredients, which are quite simple, but the magic lies in how you execute each step. You’ll need:
- 500g of bread flour
- 350g of water (room temperature)
- 100g of active sourdough starter
- 10g of salt
When measuring flour, it’s best to use a kitchen scale for precision. Combine the flour and water in a large mixing bowl. No need to get too fancy here—use a spatula or your hands to mix until all the flour is hydrated and no dry bits remain. This mixture may seem shaggy at first, but don’t worry; it will come together beautifully!
Knead Until Uniform
Now that your ingredients are combined, it’s time to work on the dough. Transfer it to a lightly floured surface for kneading. The primary goal here is to develop the gluten, which provides structure to your Dutch oven sourdough bread.
- Knead the dough for about 10 minutes. You want it to become smooth and elastic.
- If the dough is sticking excessively, sprinkle a little more flour on the surface.
As you knead, enjoy the sensory experience—the softness of the dough in your hands, the slight resistance as gluten develops, and the aroma of the ingredients combining. This is the heart of bread-making!
The Stretch and Fold Technique
After kneading, let the dough rest in a lightly greased bowl. Cover it with a damp kitchen towel and let it rise at room temperature for about 4 to 6 hours, depending on the temperature of your kitchen.
During the first two hours, perform the stretch and fold technique every 30 minutes. Here’s how:
- Wet your hands to prevent sticking.
- Grab one side of the dough, stretch it up, and fold it over to the other side.
- Rotate the bowl a quarter turn and repeat this process until you’ve come full circle—about three to four folds.
This method helps with gluten development and introduces air, making your bread airy and light.
Pre-shaping the Dough
Once your dough has risen sufficiently and is full of air bubbles, it’s time to pre-shape it. Turn it onto a lightly floured surface and gently flatten it down into a rectangle.
- Fold the sides toward the center and then roll it like a log.
- Shape it into a round ball by tucking the edges underneath.
Now, cover your dough with a towel and let it rest for about 20-30 minutes. This relaxed state allows the gluten to rest, making the final shaping easier.
Final Shape and Proofing
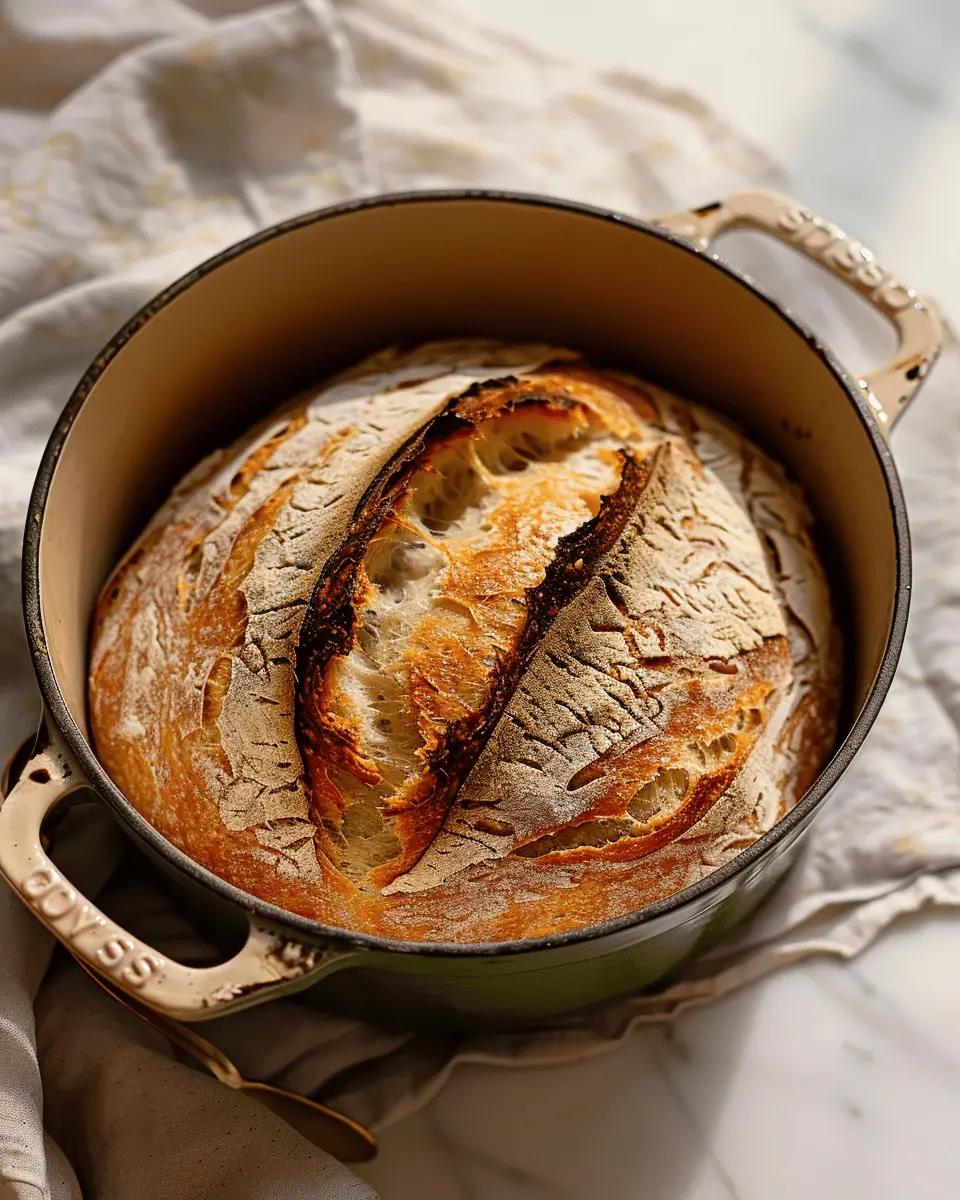
This is the moment when your Dutch oven sourdough bread starts taking shape! After resting, it’s time for the final shape. Using the same method as before, shape your dough. Depending on your preference, you can opt for a round or oval shape.
After shaping, place it seam-side down in a well-floured proofing basket or bowl. Cover it with a towel and let it proof for about 2-3 hours at room temperature, or for a longer, cooler proof in the fridge overnight (this will enhance the flavor).
Feel free to consult King Arthur Baking for additional tips on shaping and proofing your dough to ensure you nail these crucial steps!
There you have it—a straightforward, engaging way to prepare your Dutch oven sourdough bread. Once baked, you’ll have a perfect crust and a soft interior that will tantalize your taste buds. Enjoy the pride that comes from creating something so delicious from your own hands!
Variations of Dutch Oven Sourdough Bread
When you’ve mastered your Dutch oven sourdough bread, the fun doesn’t have to stop there! You can easily switch things up to create unique flavors and textures that will keep your friends and family excited for more. Let’s explore some delicious variations!
Adding Seeds and Nuts for Texture
One of the easiest ways to elevate your sourdough bread is by incorporating seeds and nuts. Consider tossing in some sunflower seeds, chia seeds, or even walnuts for a delightful crunch. Not only do these additions enhance texture, but they also pack a nutritional punch! Did you know that seeds like flaxseed can provide healthy omega-3 fatty acids? A handful of seeds can easily transform your loaf into a wholesome powerhouse.
Infusing Flavors: Herbs and Spices
Why not add a little bit of your personality with herbs and spices? Fresh rosemary or thyme can imbue your Dutch oven sourdough bread with aromatic flavors that will fill your kitchen as it bakes. Alternatively, sprinkle in some garlic powder or a bit of smoked paprika for that extra oomph. The world of spices is vast—if you’re feeling adventurous, why not explore flavors from different cuisines? Check out this guide on herbs for inspiration.
Sweet Options: Dried Fruits and Honey
Looking for a sweet twist? Adding dried fruits, like cranberries or figs, creates a delightful contrast to the tangy notes of your sourdough bread. A drizzle of honey in the dough not only enhances sweetness but can also improve crust color and flavor. Imagine biting into a slice of warm bread with pockets of gooey fruit—pure bliss!
Experiment with these variations, and you’ll discover a whole new world of Dutch oven sourdough bread possibilities!
Cooking Tips and Notes for Dutch Oven Sourdough Bread
Maintaining the Right Temperature
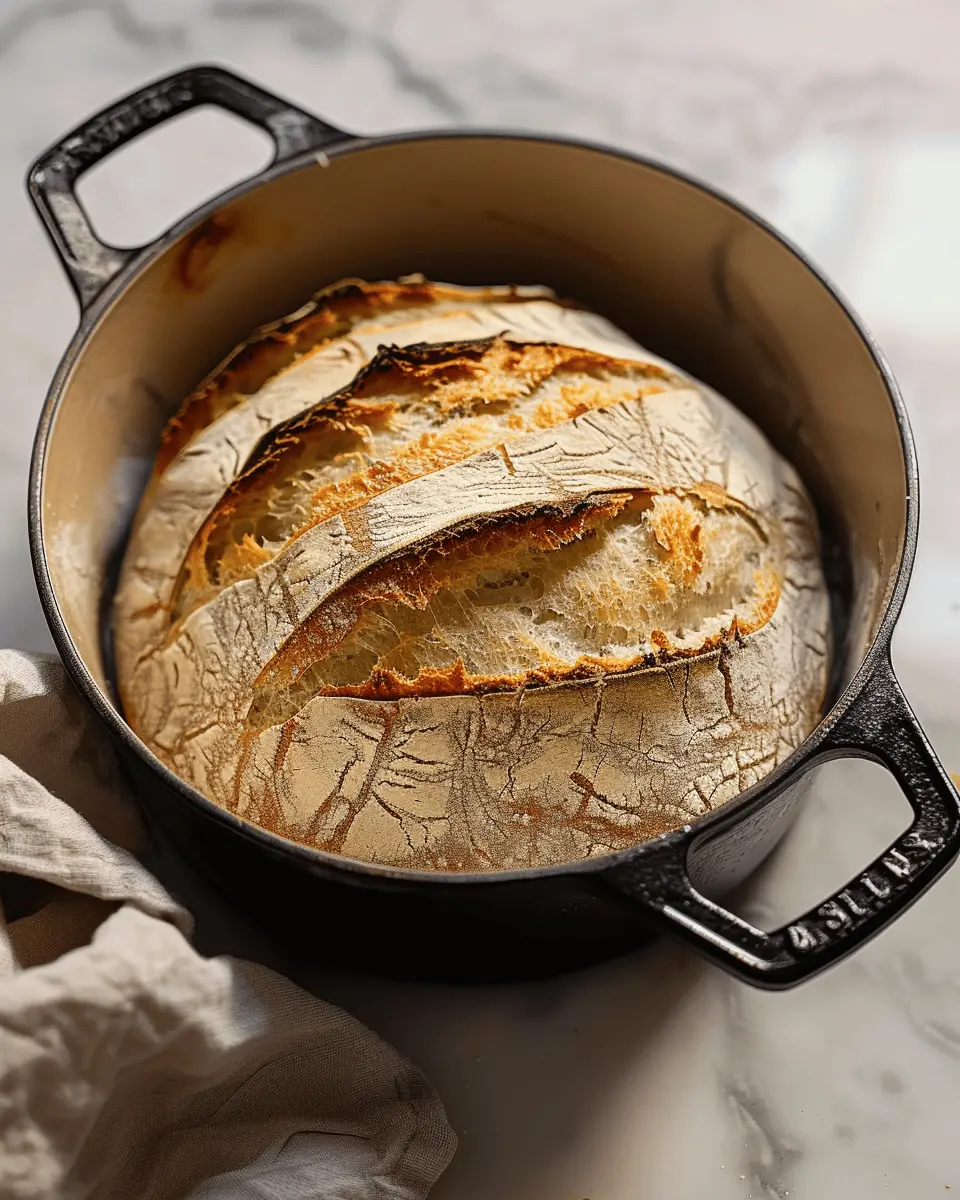
To achieve that perfectly crispy crust on your Dutch oven sourdough bread, keeping the right temperature is crucial. Preheat your Dutch oven thoroughly; this ensures that the steam generated during baking locks in the moisture, giving you that delightful crust. Aim for around 450°F (232°C) when baking. If it’s not hot enough, you risk a dense loaf rather than an airy masterpiece.
Importance of Hydration in Dough
Hydration levels play a significant role in your bread’s texture and flavor. Aim for a dough hydration of around 70% for optimal results. This means using more water relative to flour, which helps enhance the gluten structure and creates those lovely open crumbs. Experiment with different hydration levels to find your sweet spot! If you’re unsure, check out this guide on dough hydration from The Perfect Loaf.
Baking sourdough is all about patience and practice, so don’t get discouraged. Each loaf teaches you something new, and soon enough, you’ll be turning out gorgeous loaves that impress all. Happy baking!
Serving Suggestions for Dutch Oven Sourdough Bread
Best Toppings and Pairings
When it comes to enjoying your Dutch oven sourdough bread, the possibilities are endless! Consider some of these toppings for a delightful experience:
- Spreadable Options: Creamy butter, herb-infused oils, or tangy cream cheese can elevate your bread game. You can even make your own herb butter for a gourmet touch.
- Savory Additions: Pair it with Turkey Bacon or Chicken Ham for a savory breakfast or brunch. For a heartier option, try it with thinly sliced Beef and your favorite cheese.
- Fresh and Flavorful: Sliced avocado topped with a sprinkle of salt, or a delicious tomato and basil bruschetta can create a fresh bite that perfectly complements your bread.
Enjoying Freshly Baked Bread
There’s something magical about slicing into a warm loaf of Dutch oven sourdough bread. Enjoy it fresh with a bit of olive oil for dipping or serve slices toasted for that crunchy texture.
For a unique twist, why not serve it alongside a homemade soup or stew? The bread’s crusty exterior is perfect for scooping!
Make sure to share your homemade creations with friends or family—after all, food tastes better when shared. And if you ever want to explore gourmet bread pairings, check out resources like King Arthur Baking for inspiration. Enjoy your baking journey!
Time Breakdown for Dutch Oven Sourdough Bread
When you’re ready to dive into the delicious experience of baking Dutch oven sourdough bread, understanding the timing can make the process smoother and more enjoyable. Let’s break down the time commitments involved.
Preparation Time
Plan for about 20-30 minutes to mix your ingredients and get everything ready. This is when you’ll feel the dough’s texture and start dreaming of that crusty loaf!
Resting and Proofing Time
The magic happens during the bulk fermentation and proofing stages, which usually takes about 4-6 hours. Don’t rush this! It’s what gives your sourdough its unique flavors and airy texture. You could even let it rest overnight in the fridge for that extra zing!
Baking Time
For the actual baking process, set aside about 45 minutes. This includes preheating your Dutch oven—it’s essential for that perfect crust.
Total Time
In total, you’re looking at approximately 5-7 hours from start to finish, but most of that is spent waiting for your dough to evolve. Think of it as a way to practice patience—your taste buds will thank you!
For more tips on perfecting your sourdough journey, consider visiting resources like King Arthur Baking or The Perfect Loaf. Happy baking!
Nutritional Facts for Dutch Oven Sourdough Bread
When crafting the perfect Dutch oven sourdough bread, it’s essential to consider its nutritional profile. This beloved bread not only boasts a delightful crust and tender crumb but also offers several nutritional benefits.
Calories
A single slice of homemade dutch oven sourdough bread typically contains around 90-100 calories, making it a flavorful yet light addition to your meals.
Carbohydrates
Each slice packs about 20-25 grams of carbohydrates, providing an energy boost to fuel your day. This is especially beneficial if you’re active or on the go.
Protein
In terms of protein, expect roughly 3-4 grams per slice. Although it’s not a primary source, it can still contribute to your daily intake when paired with protein-rich toppings like turkey bacon or chicken ham.
Fiber
With around 1-2 grams of fiber per slice, dutch oven sourdough bread helps with digestion and keeps you feeling full. Incorporating whole grain flour can further enhance its fiber content.
For more information on the health benefits of sourdough, check out Harvard Health. Remember, moderation is key, so enjoy your freshly baked bread as part of a balanced diet!
FAQs about Dutch Oven Sourdough Bread
How long does sourdough bread last?
When properly stored, your Dutch oven sourdough bread can last about 4 to 6 days at room temperature. Keep it in a paper bag or a bread box to maintain air circulation, which helps prevent mold. If you want to extend its life, consider freezing it. Slice the bread before freezing for easy access. To thaw, simply take out a slice and let it come to room temperature or pop it in the toaster for a quick heat-up.
Can I use all-purpose flour instead of bread flour?
Absolutely! While bread flour is often preferred for its higher protein content, which contributes to a chewier texture, all-purpose flour can work too. Your Dutch oven sourdough bread might be a bit softer, but it will still bake beautifully. If you want to mimic bread flour’s strength, consider mixing in a bit of vital wheat gluten. This can help enhance the texture and rise.
What to do if my bread doesn’t rise?
If your sourdough bread isn’t rising, don’t panic! This can happen for several reasons:
- Inactive starter: Ensure your sourdough starter is bubbly and active. If it’s been stored in the fridge, you might need to feed it a few times before baking.
- Temperature: Dough rises best at warm temperatures. Try placing it in a slightly warm oven (turned off) or near a heater.
- Too much flour: Measure your ingredients accurately. A bit too much flour can lead to a denser dough that struggles to rise.
For more detailed troubleshooting, The Perfect Loaf offers excellent resources on sourdough issues. Happy baking!
Conclusion on Dutch Oven Sourdough Bread
Embracing the Joy of Baking Bread at Home
Baking your own dutch oven sourdough bread is about more than just enjoying warm, crusty slices; it’s a delightful journey of creativity and discovery. The act of mixing, kneading, and waiting as your dough dances through its fermentation process brings a sense of accomplishment that few things can replicate. Plus, the aroma wafting through your kitchen is a bonus treat!
Encouragement to Try Making Your Own Sourdough
If you’re still on the fence about jumping into sourdough making, I encourage you to take the plunge. Even if your first loaf isn’t perfect, remember that each bake offers valuable lessons. With a little patience and practice, you’ll be crafting your own irresistible loaves in no time. Don’t forget to share your sourdough journey with friends and family; after all, homemade bread is best enjoyed with loved ones! For more inspiration, check out resources like the Sourdough School or Breadtopia for tips and techniques. Happy baking!
PrintDutch Oven Sourdough Bread Made Easy for Home Bakers

Learn how to make delicious Dutch Oven Sourdough Bread easily at home with our step-by-step guide.
- Prep Time: 30 minutes
- Cook Time: 45 minutes
- Total Time: 5 hours
- Yield: 1 loaf 1x
- Category: Bread
- Method: Baking
- Cuisine: American
- Diet: Vegetarian
Ingredients
- 3 cups all-purpose flour
- 1 1/2 cups warm water
- 1/2 cup active sourdough starter
- 2 teaspoons salt
Instructions
- In a large bowl, mix together the flour and salt.
- Add the sourdough starter and warm water. Stir until a shaggy dough forms.
- Cover the bowl and let it rest for 30 minutes.
- Knead the dough for 10 minutes until smooth and elastic.
- Place the dough in a lightly oiled bowl, cover, and let it rise for 4-6 hours, or until doubled in size.
- Preheat your oven to 450°F (232°C) with the Dutch oven inside.
- Shape the dough into a round and place it on a piece of parchment paper.
- Carefully remove the hot Dutch oven, and place the parchment with the dough inside. Cover and bake for 30 minutes.
- Remove the lid and bake for an additional 15-20 minutes, until golden brown.
Notes
- Ensure your sourdough starter is active before using it.
- You can add herbs or seeds for extra flavor.
Nutrition
- Serving Size: 1 slice
- Calories: 120
- Sugar: 0g
- Sodium: 300mg
- Fat: 1g
- Saturated Fat: 0g
- Unsaturated Fat: 0g
- Trans Fat: 0g
- Carbohydrates: 24g
- Fiber: 1g
- Protein: 4g
- Cholesterol: 0mg
Keywords: Dutch Oven Sourdough Bread, Sourdough Bread, Homemade Sourdough