Introduction to Burnt Basque Cheesecake
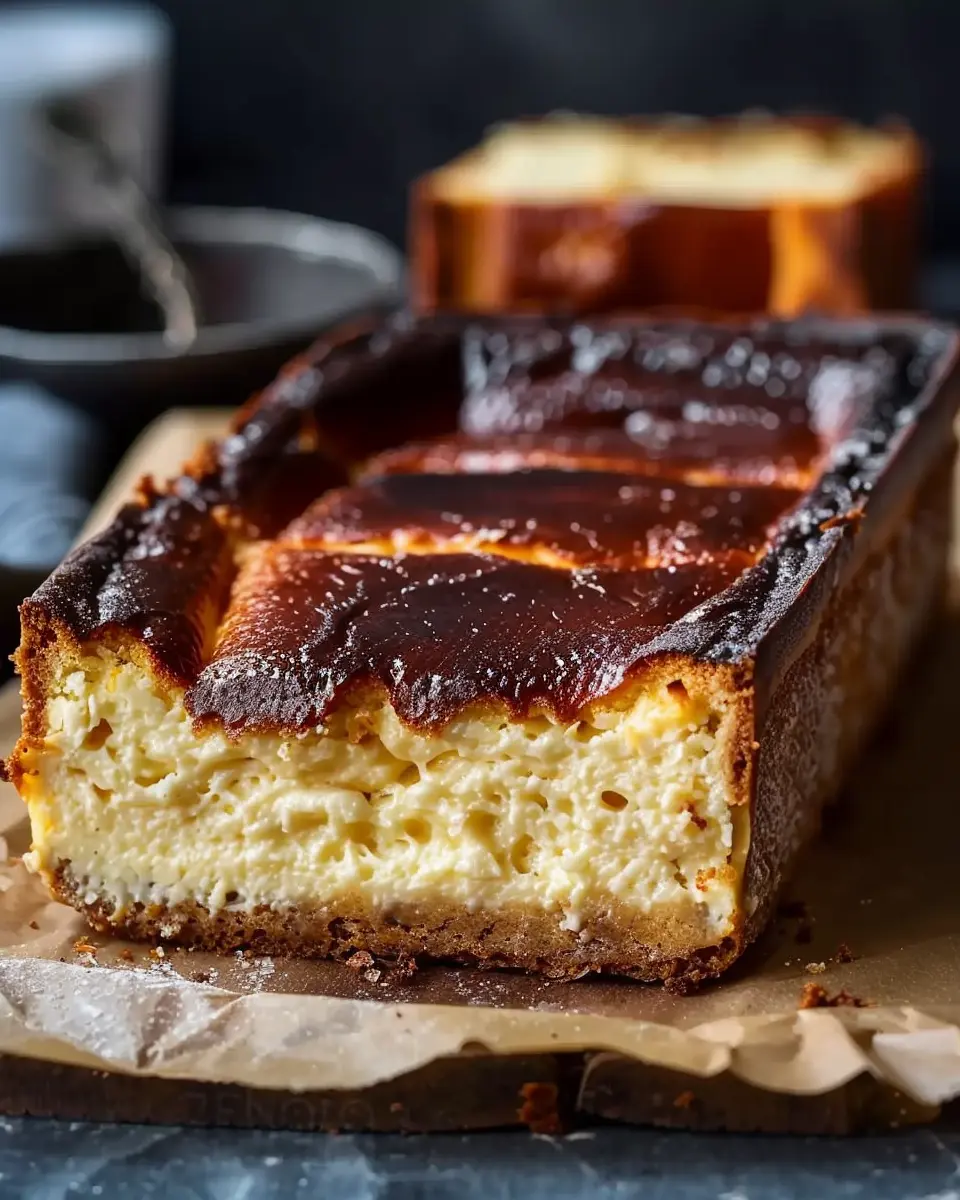
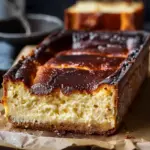
Have you noticed the buzz surrounding burnt Basque cheesecake? It’s been gaining traction in bakeries and home kitchens alike, and for good reason! This unique dessert hails from the Basque region of Spain and creates a delightful contrast of textures and flavors. Imagine a creamy, velvety interior encased in a dark, caramelized crust. It’s truly a feast for the senses!
What makes this dessert stand out? Unlike your traditional cheesecakes, the burnt Basque cheesecake is baked at a high temperature, resulting in that gorgeous charred surface. This not only enhances the flavor but also gives it a wonderfully rustic appearance. It’s like finding beauty in the unexpected—a theme many young professionals resonate with in their culinary adventures!
Additionally, there’s something liberating about how easy it is to make. You don’t need an elaborate springform pan or precise layers. Just pour your mixture into a loaf pan, pop it in the oven, and let it do its magic. If you’re curious about the science behind why high heat brings out the best in this cheesecake, you can check out this detailed article on baking techniques.
Now, while the traditional recipe often calls for a hefty dose of cream cheese and eggs, our goal is to make this dessert more adaptable. You can easily swap in light cream cheese or explore vegan alternatives if you’re looking for a healthier or plant-based option. Don’t forget to pair it with a rich coffee or a refreshing herbal tea for a perfect balance of flavors!
So, what’s the verdict? If you haven’t tried your hand at making burnt Basque cheesecake, now’s the perfect time to dive into this sweet trend. In the following sections, we’ll guide you step-by-step through our version, ensuring you can impress your friends and satisfy your culinary ambitions. Let’s get baking!
Ingredients for Burnt Basque Cheesecake
Creating a burnt basque cheesecake in a loaf pan is simpler than you might think! This rich and creamy dessert is a delight to your taste buds and a fun twist on traditional cheesecakes. Before we dive into the recipe, let’s gather all the right ingredients to make sure your baking adventure gets off to a great start.
Key Ingredients
- Cream Cheese: 2 cups (softened) – This is the heart of your cheesecake, providing that luscious texture.
- Sugar: 1 cup (granulated) – Sweetness that balances the tanginess of the cream cheese.
- Eggs: 3 large – These provide structure and bind everything beautifully.
- Heavy Cream: 1 cup – Who doesn’t love a rich, creamy finish? It adds the necessary moisture.
- Vanilla Extract: 1 teaspoon – A splash of warmth to enhance the flavors.
- Flour: 1/4 cup – Just a touch to give a bit of stability.
As you gather these ingredients, think about the delicious opportunity to impress your friends or family. For tips on sourcing the freshest products, check out this guide on finding local produce. Ready to bake? Let’s make that burnt basque cheesecake unforgettable!
Step-by-Step Preparation of Burnt Basque Cheesecake
Preheat your oven
Before you dive into creating your burnt basque cheesecake, preheating your oven to 400°F (200°C) is crucial. This high temperature will create that signature burnt top while keeping the inside creamy and delightful. Pro tip: If your oven has a convection feature, consider using it for a more even bake. As the oven warms up, it’s a great time to gather your ingredients and tools—trust me, being organized always helps in the kitchen!
Beat the cream cheese and sugar
Next up, the star of the show: cream cheese. Make sure you’re using room-temperature cream cheese for a smooth mix—nobody wants lumps in their cheesecake! In a mixing bowl, combine 2 cups of your favorite cream cheese with 1 cup of granulated sugar. Using an electric mixer, beat on medium speed until the mixture is light and fluffy. This step is where the magic begins; a properly aerated mixture will elevate the texture of your burnt basque cheesecake.
Incorporate the egg
Now, let’s bring in the egg. Crack one large egg into your creamy mixture (you can also add another egg if you want a more custard-like texture). Mix on low until fully incorporated. It’s always interesting to watch the creamy, sugary concoction transform as the egg is mixed in—it suddenly becomes richer and more velvety. Feeling curious about the science behind how eggs provide structure in baking? Consider checking out information on how eggs contribute to baking.
Mix in the heavy cream and vanilla
Bring on the heavy cream! Add in 1 cup of heavy cream and 1 teaspoon of vanilla extract. These ingredients will add depth and richness to your cheesecake batter. Again, mix on medium until everything is blended, but don’t overdo it. Overmixing can lead to a rubbery texture, and nobody wants that! Take a moment to appreciate the delicious aroma filling your kitchen at this stage—can you smell that vanilla?
Fold in the flour and salt
Here’s where the burnt basque cheesecake really gains its structure. Gradually fold in 1 tablespoon of all-purpose flour and a pinch of salt. Use a spatula for this to keep the air you’ve incorporated in the batter. The flour adds stability to your cheesecake, so don’t skip it, even if it seems like a small amount! It’s all about the balance between that creamy filling and the burnt top.
Pour the batter and bake
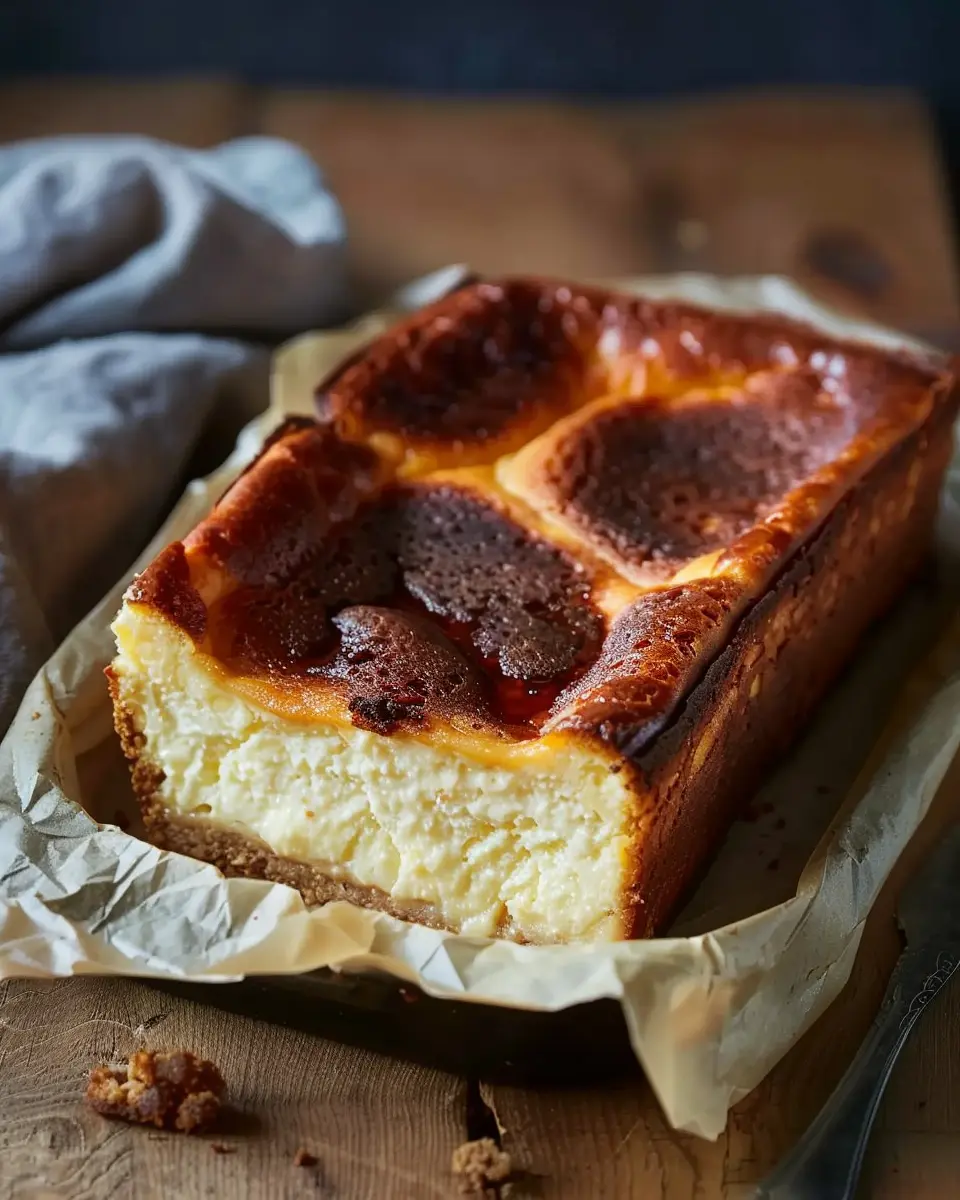
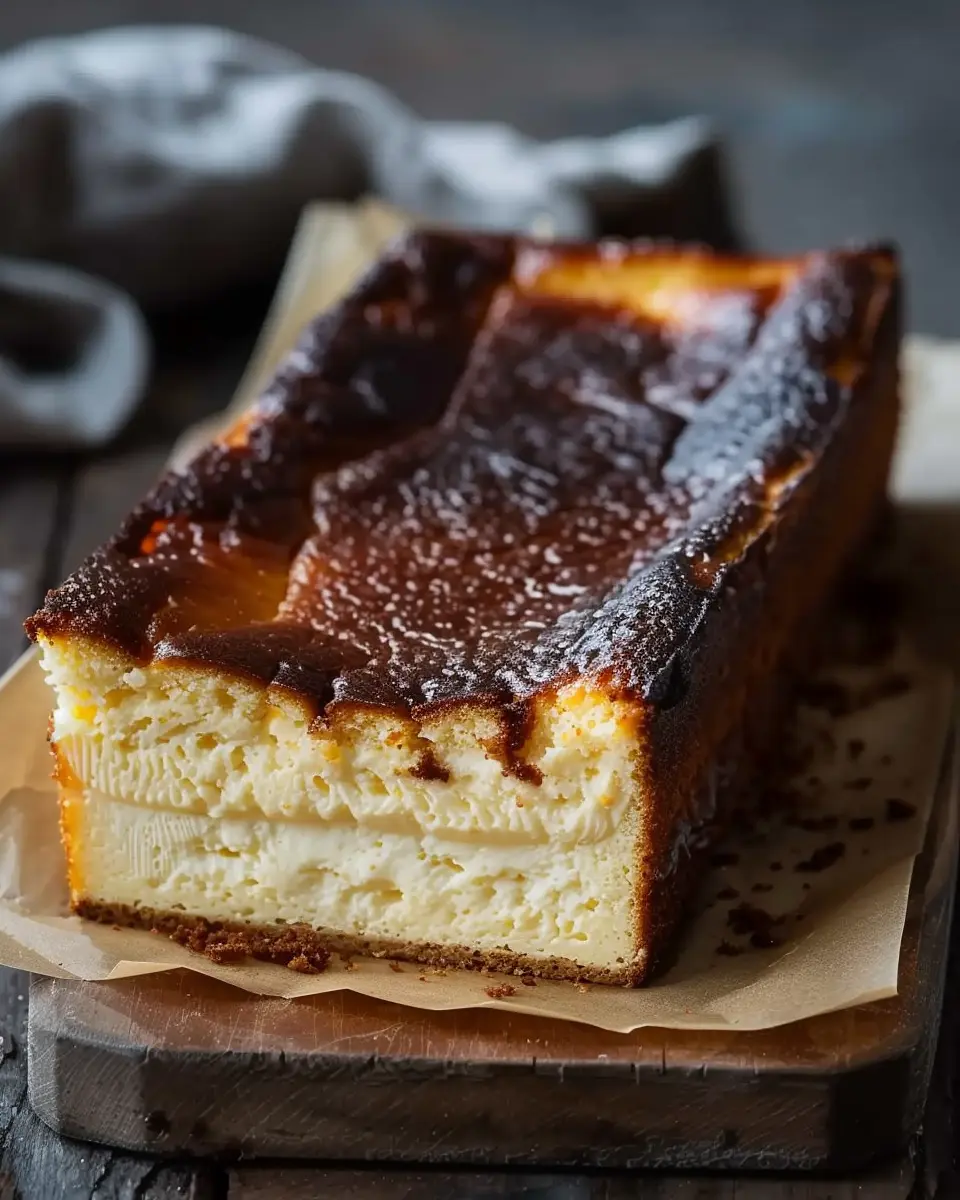
Time to put this beauty in the oven! Grab your pre-prepared loaf pan, ideally lined with parchment paper for easy removal. Pour the batter into the pan, spreading it into an even layer. Bake in the preheated oven for about 25 to 30 minutes. You want the top to turn a deep, golden brown—this is the hallmark of a burnt basque cheesecake. When you take it out, it will seem a bit wobbly in the center, which is a good sign; it’ll set up beautifully as it cools.
Cool and chill your cheesecake
Once the cheesecake is out of the oven, let it cool in the pan for at least 15 minutes at room temperature. The cooling is crucial, as it allows the flavors to develop and the texture to stabilize. When it’s cool enough, cover the pan with plastic wrap or foil and transfer it to the fridge for at least 4 hours (or overnight if you can wait!). The chilling helps the flavors meld beautifully, giving you that gorgeous, creamy slice when you finally serve it.
And there you have it! With just a few simple steps, you’ve prepared an amazing burnt basque cheesecake. Don’t forget to share your thoughts and modifications in the comments below! Baking shouldn’t just result in delicious treats, but also in good stories. Happy baking!
Variations of Burnt Basque Cheesecake
When it comes to burnt Basque cheesecake, there’s plenty of room to get creative! This beloved dessert can be tailored to suit various tastes and dietary preferences. Let’s dive into some delightful variations.
Chocolate Lovers’ Basque Cheesecake
For those who can’t resist the allure of chocolate, try adding a rich cocoa powder to your burnt Basque cheesecake recipe. Simply incorporate about ½ cup of unsweetened cocoa into the cream cheese mixture before baking. This not only deepens the flavor but also gives you a gorgeous marbled effect if you choose to swirl in some chocolate ganache on top. Pair it with a scoop of vanilla ice cream for an indulgent treat!
Fruit-Infused Basque Cheesecake
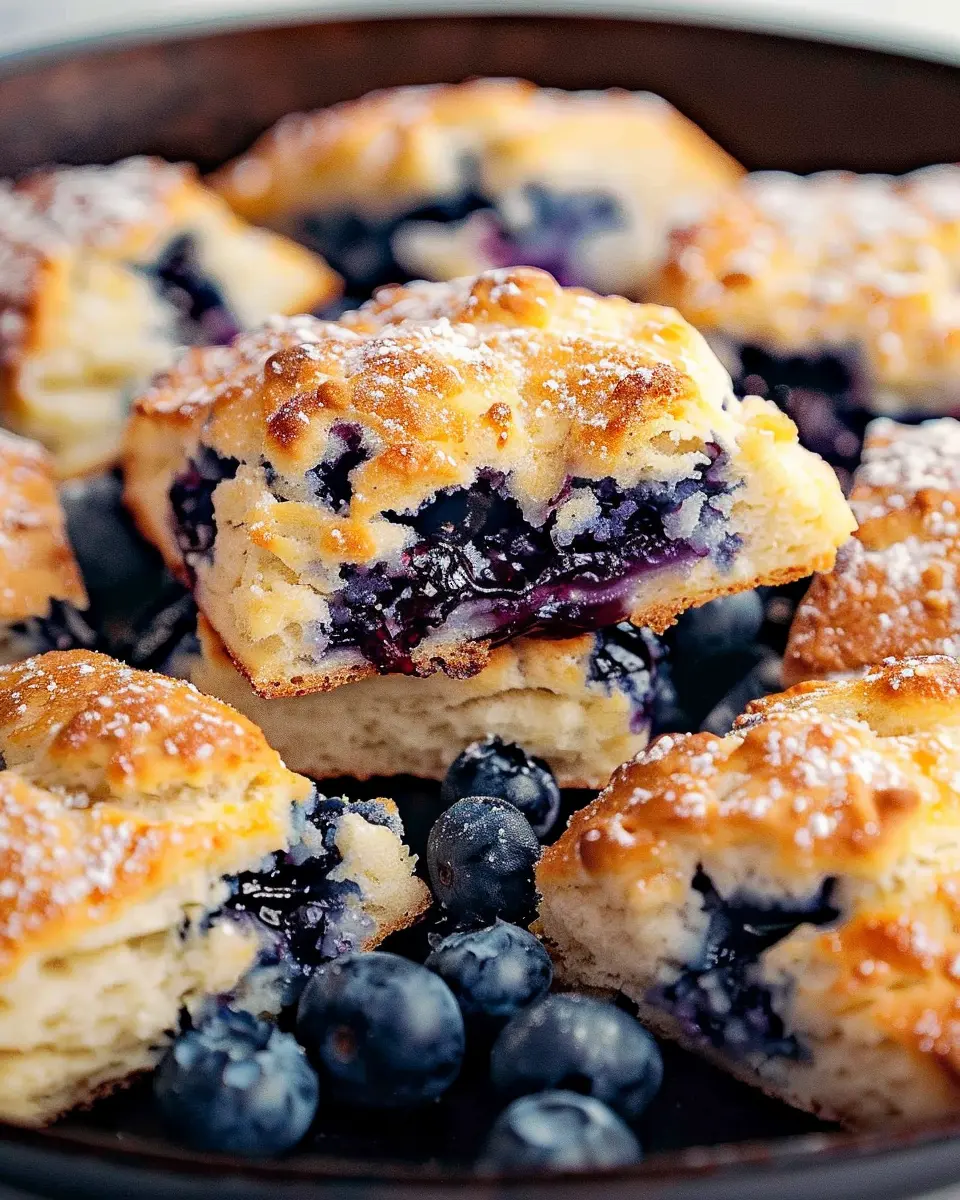
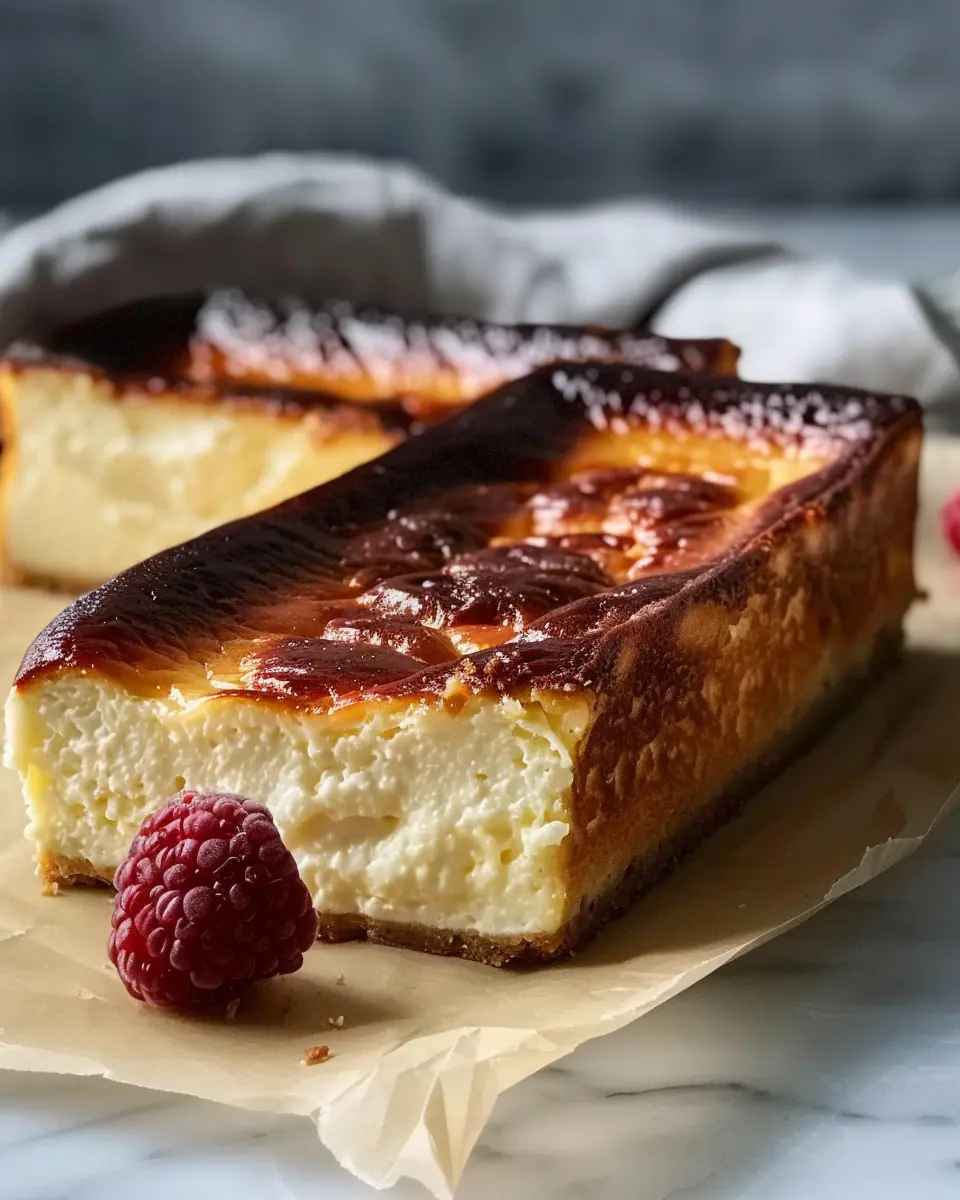
If you’re in the mood for something fruity, incorporating local seasonal fruits can elevate your burnt Basque cheesecake to new heights. Blueberries and raspberries are great options. Simply fold in a cup of fresh or frozen berries into your cheesecake batter. For an extra zing, consider a citrus twist by adding the zest of a lemon or orange. The acidity balances the richness and creates a refreshing finish!
Vegan Version of Basque Cheesecake
Yes, you can create a plant-based alternative that captures the essence of the traditional dessert! Substituting cream cheese with cashew cream or silken tofu results in a creamy texture. Add some coconut cream for richness and sweeten with maple syrup or agave. Bake it in the same way you’d bake a classic burnt Basque cheesecake, and you’ve got a delectable treat that caters to everyone!
Embrace these variations to showcase your culinary creativity. The only limit is your imagination! If you want more ideas and tips on baking, check out Serious Eats for techniques and inspiration.
Cooking Tips and Notes for Burnt Basque Cheesecake
Ensuring the Perfect Texture
When crafting a delightful burnt Basque cheesecake, the texture is key to creating that signature experience. Aim for a silky smooth batter by thoroughly blending your cream cheese until fluffy before adding your other ingredients. This ensures that there are no lumps, allowing for that perfect shimmy when you remove the cheesecake from the oven. For an extra creamy texture, consider using room-temperature ingredients; this will help everything meld beautifully.
Tips on Achieving That Burnt Top
The allure of a burnt Basque cheesecake is undeniably its beautifully charred top. To achieve this, bake your cheesecake at a higher temperature—around 400°F (200°C)—which initiates caramelization. Keep an eye on the cheesecake as it bakes, especially during the last 10-15 minutes. The top should bubble and darken but not completely char. If you’re unsure, use a toothpick to check for doneness: it should come out slightly moist but not overly wet. Remember, patience yields perfection!
For more tips on achieving that heavenly texture, consider checking out Serious Eats. Happy baking!
Serving Suggestions for Burnt Basque Cheesecake
Serving It Warm vs. Chilled
When it comes to enjoying your burnt Basque cheesecake, the temperature makes a world of difference. Serving it warm, right out of the oven, provides a luscious, creamy texture that melts in your mouth. The gooey center enhances that inviting experience. However, chilling it for a few hours allows the flavors to deepen, giving you a denser slice that’s just as delightful. So, are you in the mood for a comforting treat or a refreshing dessert? You can’t go wrong either way!
Accompaniments That Enhance the Experience
To elevate your cheesecake experience, consider pairing it with:
- Fresh Berries: Strawberries, blueberries, or blackberries add a burst of freshness and a beautiful contrast to the rich cheesecake.
- Caramel Sauce: Drizzling a bit of homemade caramel brings an indulgent sweetness that complements the cheesecake’s slight bitterness beautifully.
- Whipped Cream: A dollop of lightly sweetened whipped cream creates a lovely balance to the richness.
- Coffee or Tea: A warm cup of coffee or a fragrant herbal tea can enhance the overall experience. It’s like the perfect bookend for a cozy dessert!
Don’t forget to check out this berry sauce recipe for a vibrant addition to your cheesecake! Mixing it up with flavors keeps every bite exciting and memorable. What will you choose to enhance your burnt Basque cheesecake adventure?
Time Breakdown for Burnt Basque Cheesecake
Preparation time
Getting started with your burnt basque cheesecake takes about 15 minutes. This is the time when you’ll gather your ingredients, mix up that velvety batter, and pour it into your loaf pan. Make sure to set everything up ahead of time, as it can be a bit of a whirlwind if you’re not organized!
Baking time
Once your cheesecake is ready, it only needs about 50 minutes in the oven. Keep an eye on it, as the top should get beautifully dark while the inside remains creamy. A perfectly baked cheesecake will be slightly jiggly in the center when you take it out.
Total time
For a smooth baking experience, plan for roughly 1 hour and 5 minutes total. This includes both prep and baking. After that, letting it cool completely is key before diving in, so you might want to set aside an extra hour for cooling if possible. A little patience goes a long way when it comes to flavor!
For detailed tips on the ultimate cheesecake experience, you might find insights from The Cheesecake Factory’s official recipes.
Nutritional Facts for Burnt Basque Cheesecake
When devouring a slice of burnt Basque cheesecake, it’s helpful to know what you’re enjoying from a nutritional perspective. Here’s a brief overview of its key components:
Calories
A typical slice of this rich cheesecake clocks in at about 350 calories. That makes it a decadent dessert best enjoyed in moderation.
Fat Content
Expect around 28 grams of fat per serving, largely from cream cheese. This cheesecake is not shy about richness, so savor every bite!
Sugar Content
With approximately 18 grams of sugar per slice, the sweetness complements the savory notes perfectly. For more on sugar intake recommendations, check out Healthline for expert advice.
Ultimately, this burnt Basque cheesecake is an indulgence worth considering, especially for special occasions. Balancing it with lighter meals throughout the day can make it feel like less of a guilty pleasure!
FAQs about Burnt Basque Cheesecake
What makes Burnt Basque cheesecake different from regular cheesecake?
The burnt Basque cheesecake stands out due to its unique preparation method and flavor profile. While traditional cheesecakes often feature a graham cracker crust, this version skips the crust entirely, focusing on a simple, creamy filling. The magic happens when it’s baked at a high temperature, resulting in a deeply caramelized top that gives it that distinctive “burnt” aspect. This not only enhances the cheesecake’s flavor, creating a rich and slightly smoky taste, but also contributes to its signature fluffy, custard-like texture. For a deeper dive into the art of cheesecakes, you might want to explore this resource.
How should I store leftover Basque cheesecake?
If you find yourself with leftover burnt Basque cheesecake, storing it properly is key to maintaining its fabulous flavor and texture. Allow the cheesecake to cool completely at room temperature before covering it in plastic wrap or placing it in an airtight container. It can be stored in the refrigerator for up to five days. If you want to keep it longer, consider freezing individual slices. Just wrap each slice tightly in plastic wrap and then place them in a freezer-safe bag.
Can I make this cheesecake in advance?
Absolutely! In fact, the burnt Basque cheesecake can taste even better the next day as the flavors have time to meld. You can prepare it up to two days in advance and store it in the refrigerator. Just remember to let it come to room temperature before serving for the best flavor experience. This makes it a fantastic option if you’re prepping for a gathering—just pop it in the oven ahead of time and enjoy the praises as you slice into that beautifully burnt exterior.
Conclusion on Burnt Basque Cheesecake
In the world of desserts, the burnt basque cheesecake has carved out a niche that’s hard to resist. Its creamy texture and slightly charred exterior make it a unique treat that feels indulgent yet achievable. Remember, the beauty of this recipe lies in its simplicity—using just a handful of ingredients allows the flavors of cream cheese and eggs to shine.
Don’t forget to experiment! Baking is an art, so feel free to customize it with your favorite toppings or crusts. Whether you choose fresh fruits, a drizzle of caramel, or a sprinkle of nuts, your version can be as personal as your taste buds prefer. Share your creations and enjoy the delightful reactions from friends and family! For more dessert inspiration, check out BBC Good Food or Food Network. Your kitchen awaits your next masterpiece!
PrintBurnt Basque Cheesecake: Easy Loaf Pan Delight for Home Cooks
Experience the rich and creamy flavor of Burnt Basque Cheesecake made easily in a loaf pan. Perfect for home cooks looking for a delightful dessert.
- Prep Time: 15 minutes
- Cook Time: 45 minutes
- Total Time: 4 hours 15 minutes
- Yield: 8 servings 1x
- Category: Dessert
- Method: Baking
- Cuisine: Spanish
- Diet: Vegetarian
Ingredients
- 2 cups cream cheese
- 1 cup granulated sugar
- 3 large eggs
- 1 cup heavy cream
- 1 tsp vanilla extract
- 1/4 cup all-purpose flour
Instructions
- Preheat the oven to 400°F (200°C).
- Line a loaf pan with parchment paper.
- In a bowl, beat the cream cheese and sugar until smooth.
- Add the eggs one at a time, mixing well after each addition.
- Slowly incorporate the heavy cream and vanilla extract.
- Gently fold in the flour until just combined.
- Pour the batter into the prepared loaf pan.
- Bake for 40-45 minutes until the top is dark brown and the center is slightly jiggly.
- Let it cool in the pan before transferring to a wire rack.
- Chill in the refrigerator for at least 4 hours before serving.
Notes
- Allow the cheesecake to come to room temperature before serving for best flavor.
- For a more intense burnt flavor, increase baking time by 5 minutes.
Nutrition
- Serving Size: 1 slice
- Calories: 320
- Sugar: 24g
- Sodium: 250mg
- Fat: 24g
- Saturated Fat: 15g
- Unsaturated Fat: 7g
- Trans Fat: 0g
- Carbohydrates: 22g
- Fiber: 0g
- Protein: 6g
- Cholesterol: 100mg
Keywords: Burnt Basque Cheesecake, Loaf Pan Cheesecake, Easy Desserts